mini split cover removal
Let the unit dry completely including all the components and then put it all back together. I think there is about 5 screws.

Pin On Products
Also 2 clips down the bottom which will come of after you take the top of.

. We have used ducted mini-split systems for offices master bedroom suites basically up to 3-4 room areas. Make sure the louver where the air blows out is closed. Turn on the power.
However there may come a time when the unit ceases to function either due to age electrical problems or debris buildup and it may be necessary to get rid of it. Leaks in the coils and different parts are also checked by vacuuming the air conditioner. You will also have to remove the louver by pulling it out of the left-hand bushing and then off of the motor shaft on the right-hand side.
I go step by step in the video. Then you a have to unclip the top 3 clips by carefully pull up on the case. Release the right and left slide locks of the front cover and pull it toward the front.
Gently pull up the cover to reveal wires and plugs that are connected to the control board. Its not the easiest thing. Instructions on removing front cover.
Remove them and the end caps. A wall-mounted split air conditioner is considered one of the best ways of cooling a room without damaging windows or doors. Gently pull up the cover to reveal wires and plugs that are connected to the control board.
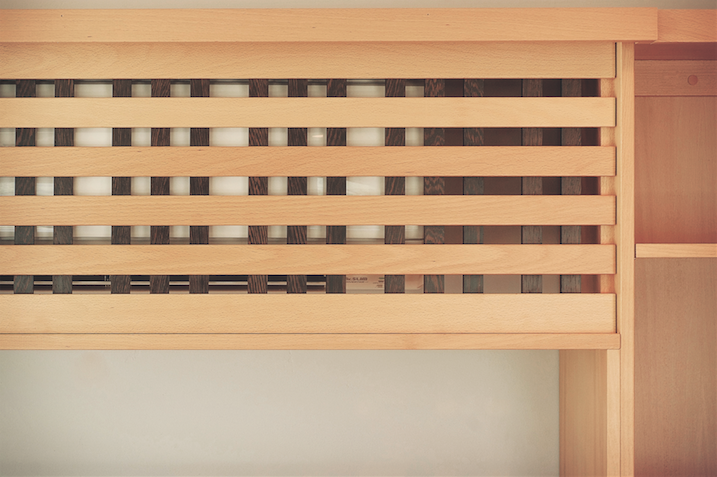
If you are going to vacuum your air conditioner then we need to cover. Easy to remove when in use Must wrap around the sides to fully cover the mini split Double as wall art or other design feature Mini Split Heat Pump Turned Wall Art As you can see above the mini split is centered on the main focal wall of the guest house. There are screws under those arrows.
Wear the AIRCONcare Wash Bag and begin. Wall mounted sanyo ks0911 i cnt get the cover off to get to the drain to unclogg - Answered by a verified HVAC Technician We use cookies to give you the best possible experience on our website. Insert the uv lamp cable connectors and wiring harness connector into the power supply.
How To Remove The Front Cover of our Wall-Mount Unit 407895 views Nov 24 2015 712 Dislike Share Save Mitsubishi Electric Trane HVAC US 209K. Lee 02-15-2017 1125 AM 2 jbryan7766 Professional Member Join Date Mar 2014 Location Altoona Pennsylvania Posts 406 Post Likes They really are not hard to get off. Pull the plastic cover off from the bottom.
To properly maintain your mini split you should clean it completely every 6 months. If you pull bottom out first. Reattach the power supply and turn it on.
Check that both the indoor unit and outdoor units are working correctly. Make sure the AC is unplugged from its outlet. Note that different sized units may have more screws than seen in this video.
As an added benefit the condensation line is piped to a 3x8 outdoor landscaper area that keeps the garden well watered the hotter it is the more condensation water. Then unclip the top and it should slide off. The cover will pop out of the clips on top.
Two flare connections are needed at the indoor head unit and two flare connections are needed at the outdoor mini-split unit. Pull off the control knobs usualy with your fingers. Up to 24 cash back Steps to removing the front panel of your ductless split air conditioner 1.
Make sure you unit is op and spin it with your hands. Remove Front Cover by pulling up the bottom of the cover towards you. The compressor speed is.
Do make sure the filters are accessible for cleaning Dont install them above any electronics due to the possibility of condensation Hide Mini Splits in a Built-in Bookcase. Fujitsu site has a pdf on how to tear it down. Remove the service cover.
To the right you will see a black control board cover. These copper tubes are referred to as the line set and they connect the indoor head unit to the outdoor heat pump or condensing unit. It simply fixes to the wall with a few screws and a couple of holes.
The solutions we got range from simple to inspirational. Steps to removing the front panel of your ductless split air conditioner 1. Lift the bottom of the front cover with your fingers and gently pull it.
Clear the louvers and all other obstacles first then totally remove the panel. That meant that whatever I did to cover it up also needed to double as a design element. The comfort level is excellent.
1 Remove the screw and remove the service cover. Installing a fujitsu minisplit in a commercial basement. 2 remove the 3 screw covers with a flat screwdriver.
But before we look at the specifics here are a couple of dos and donts. A mini-split should be vacuumed to get rid of moisture as it reduces the performance of air conditioner by damaging it as the condensed water inside the mini-split can cease the system. Usually located at these positions.
Those are the only screws that hold the cover on the rest of it is just clips. By continuing to use this site you consent to the use of cookies on your device as described in our cookie policy unless you have disabled them. Then you can gently remove the cover from the top of the condenser.
The 2 screws on the top where the filter is that are removed and there are 3 screws below the louver that are under small plastic caps. Remove the front grille. Refer to the removal procedure in a reverse way when reassembling.
Remove the screws usually with a Phillips screwdriver. 595 Removing the front cover To perform maintenance on the following FRUs from the front of the chassis remove the front cover before starting the work. Once you get it of.
2 Remove the 3 screw covers with a flat screwdriver. 1 Remove the 3 screws of the front grille. User 71115 11800 posts.
Remove the screws from the cover. On a mini-split ductless system two copper tubes are needed to transport the refrigerant. How to remove the Carrier high wall unit cover for service cleaning or painting around.
I show you how to clean your ductless mini split air conditioner. You can remove the front grille without removing the service cover. Mitsubishi Amazon prime 30 day free trial httpsamznto.
Remove Screws in front Panel. Pop off the plastic covers with the arrows on them. - Fan unit - Power supply unit - PSU backplane unit - Operation panel Release the right and left slide locks of the front cover and pull it toward the front.
There are clips on the top of the unit.

Amvent Inverter A55gw2c I2 18000 Btu Seer 20 3 Cooling Only Mini Split Ductless Air Conditioner Ductless Air Conditioner Ductless Air Conditioner Installation

Ductless Minisplit How To Take Apart Clean Diy Youtube

Urban Rustic Choosing And Installing A Ductless Minisplit Greenbuildingadvisor Ductless Mini Split Small Space Heater Hvac

The Truth Behind Mini Split Systems Innovative Dehumidifiers Split System Hvac Unit Dehumidifiers

Access Panel Removal Turning Breaker Off And Replacing Ac Capacitor Central Air Conditioning Hvac Air Conditioning Air Conditioner Maintenance

Mini Split Ac Cover Ac Cover Air Conditioner Covers Heat Pump Cover
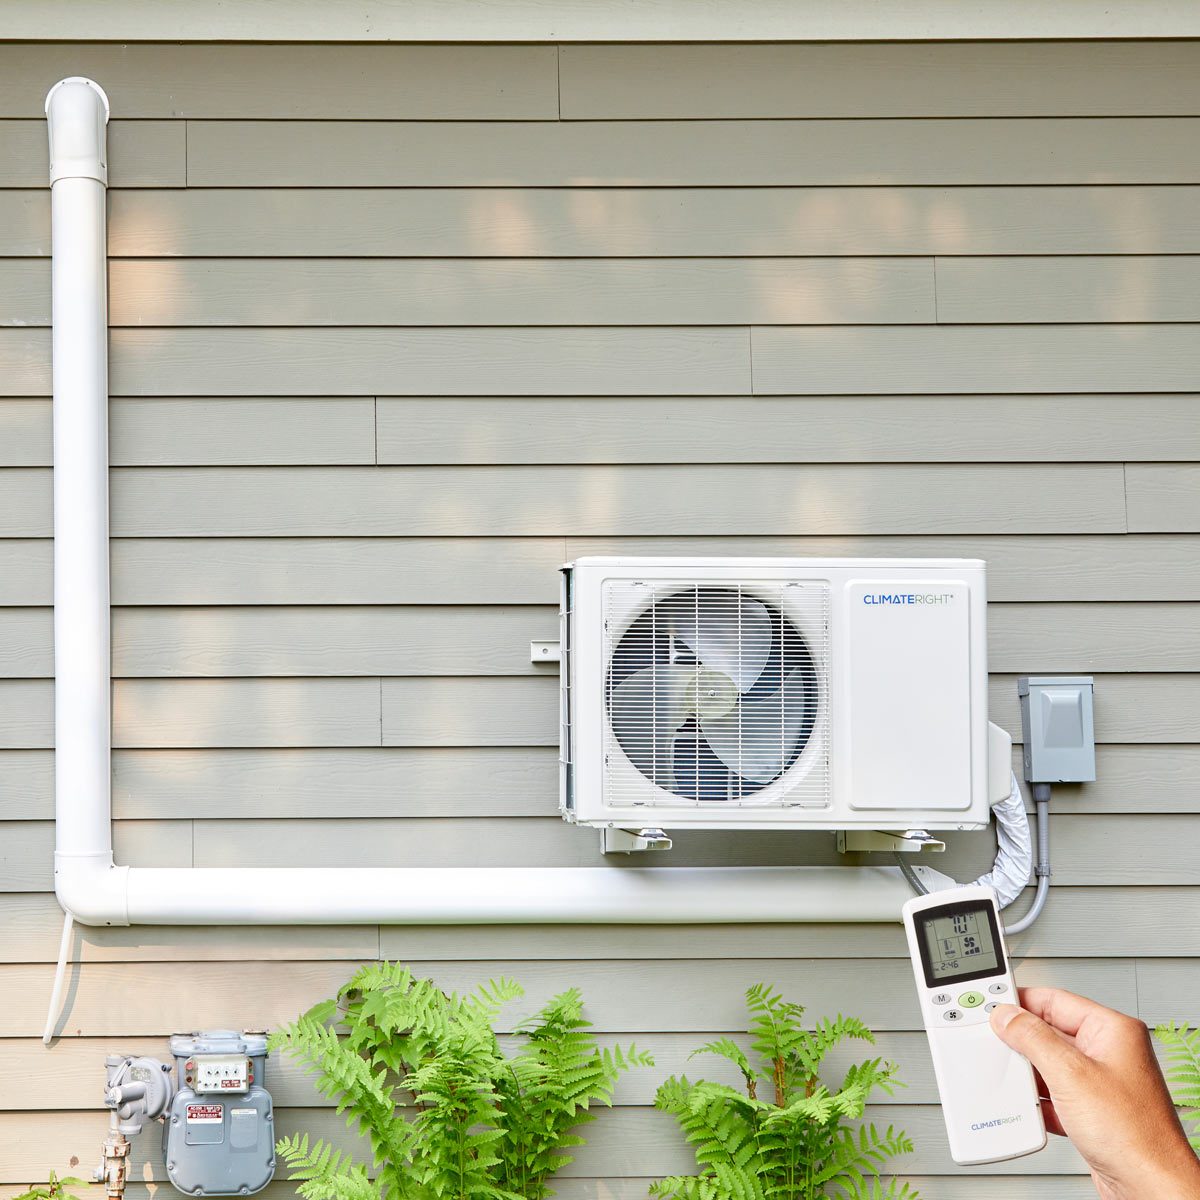
How To Install A Ductless Air Conditioner Diy Family Handyman

5 Ways To Hide A Mini Split Pro Remodeler

8 Maintenance Tips For Ductless Air Conditioners Ductless Air Conditioner Air Conditioning Maintenance Air Conditioner Maintenance

Mitsubishi 22 000 Btu H 17 5 Seer Cooling Only Ductless Mini Split Ductless Mini Split Mitsubishi Air Conditioner Ductless

Where Is My Ductless Mini Split Finding And Cleaning Mini Split Filters Service Champions Norcal

Pin By Tony Sandman On Hvac How To Set Cover Wall Coverings Air Conditioner Cover Indoor

Pin On Quick Saves

Concealed Mini Split Air Conditioner Cover Wall Air Conditioner Air Conditioner Hide
5 Ways To Hide A Mini Split Pro Remodeler

Pin On Error Code
P Series Commercial Ductless Mini Split Air Conditioner Installed Refrigeration And Air Conditioning Air Conditioning Maintenance Ductless Heating And Cooling

Celiera 18 000 Btu 800 Sq Ft 230 Volt Wall Air Conditioner With Heater Air Conditioner With Heater Ductless Mini Split Wall Air Conditioner

Diy Ductless Mini Split Install Mrcool Unit Youtube